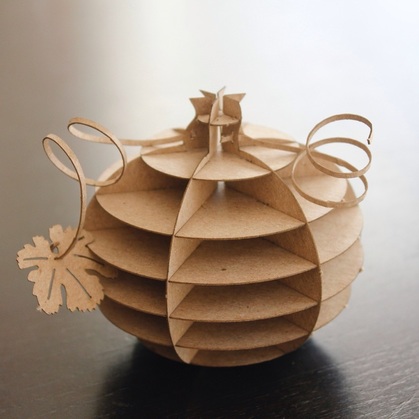
It’s promo time again, so I decided to make some little chipboard pumpkins.
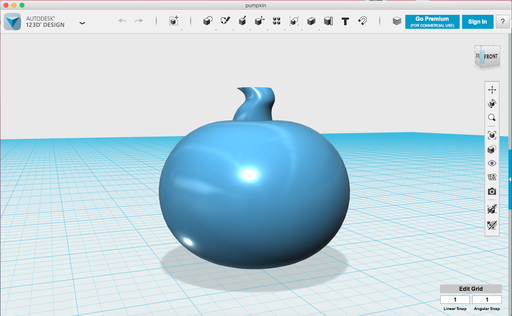
I used 123D Design to build the pumpkin. For free software, it’s pretty good. However, I ran into a lot of problems with this project – little glitches that kept some functions from working. Frustrating!
I used 123D Design to build the pumpkin. For free software, it’s pretty good. However, I ran into a lot of problems with this project – little glitches that kept some functions from working. Frustrating!
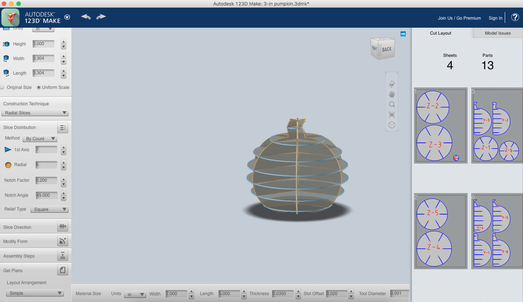
Once I got the pumpkin how I wanted it, I exported to 123D Make. I chose Radial Slices to emphasize the round shape of the pumpkin.
There was a lot of tweaking at this stage. The software didn’t seem to use the values I inputed for things like material thickness, and how much “give” I wanted in the slats.
There was a lot of tweaking at this stage. The software didn’t seem to use the values I inputed for things like material thickness, and how much “give” I wanted in the slats.
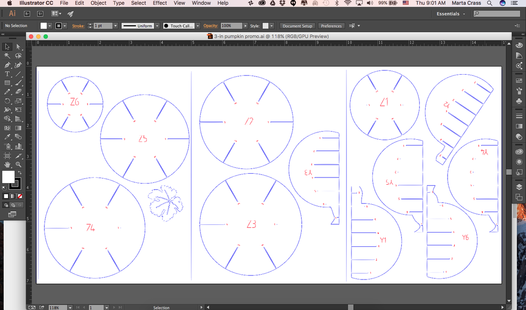
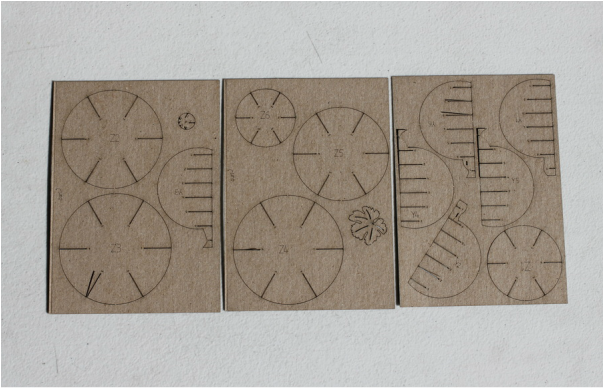
Into Illustrator. I rearranged the pieces so they fit on three 5×7″ cards – easy to slide into an A7 envelope. Since I sent 50 pumpkins, I knew I couldn’t spend the time or the postage to assemble them. This way they shipped for the price of a stamp and it gave the recipient the experience of putting theirs together.
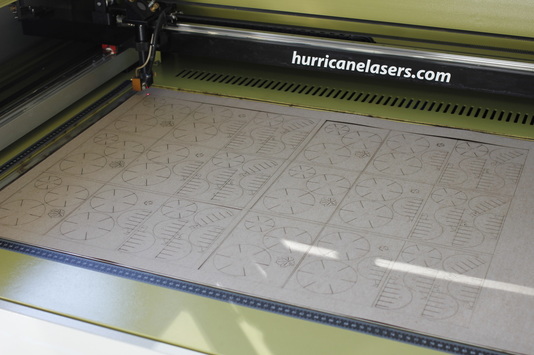
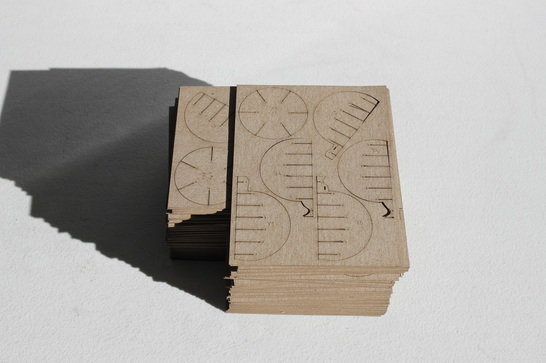
Time to cut. I laid them out 6 to a sheet. It takes 24:00 to cut one sheet of 6 pumpkins. Not bad.
I love how they turned out. I hope my recipients enjoy them, too. I’ve already gotten some positive feedback and they accomplished their mission – to initiate new orders!
